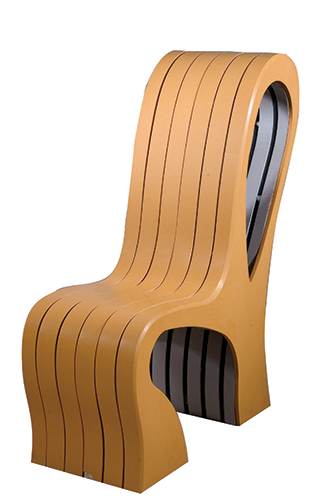
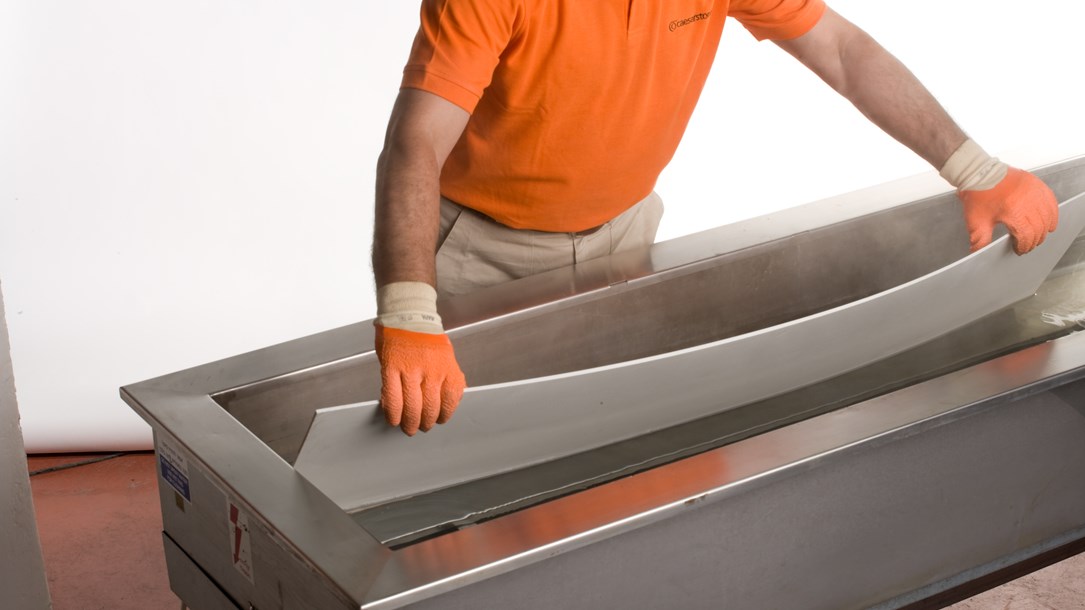
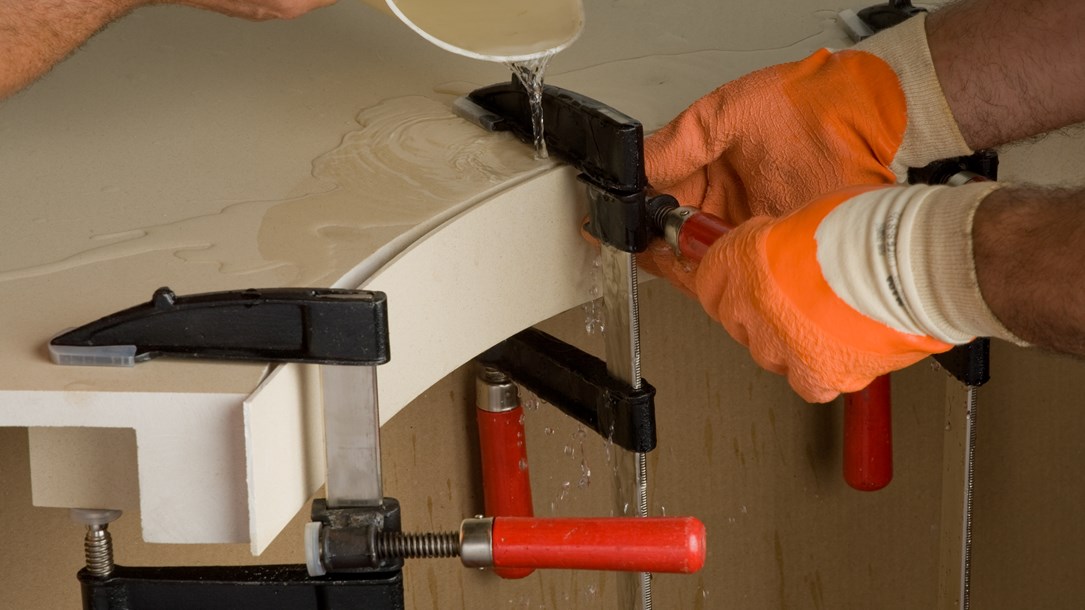
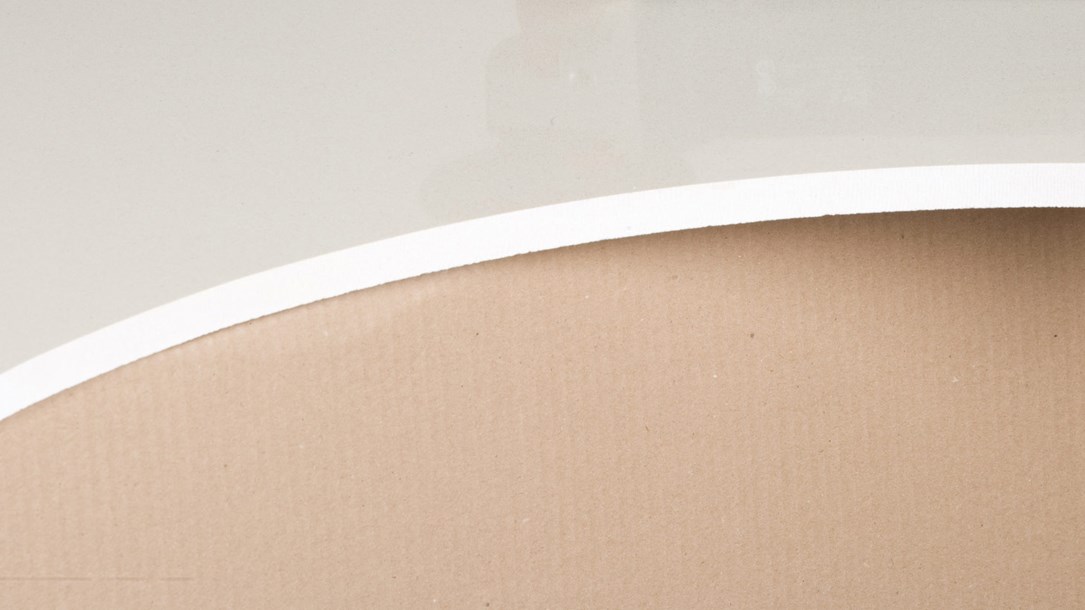
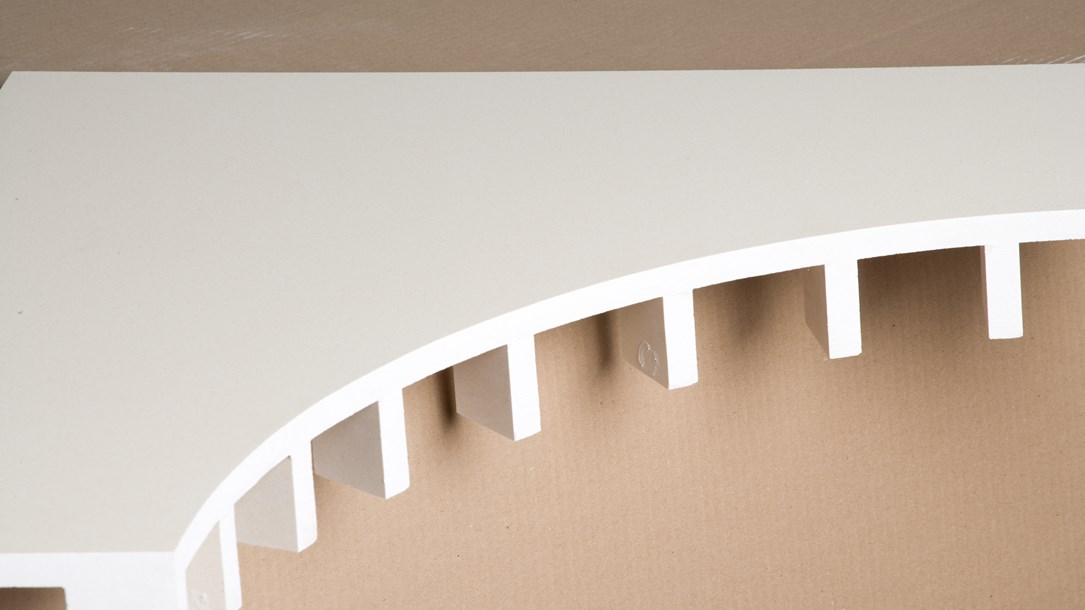
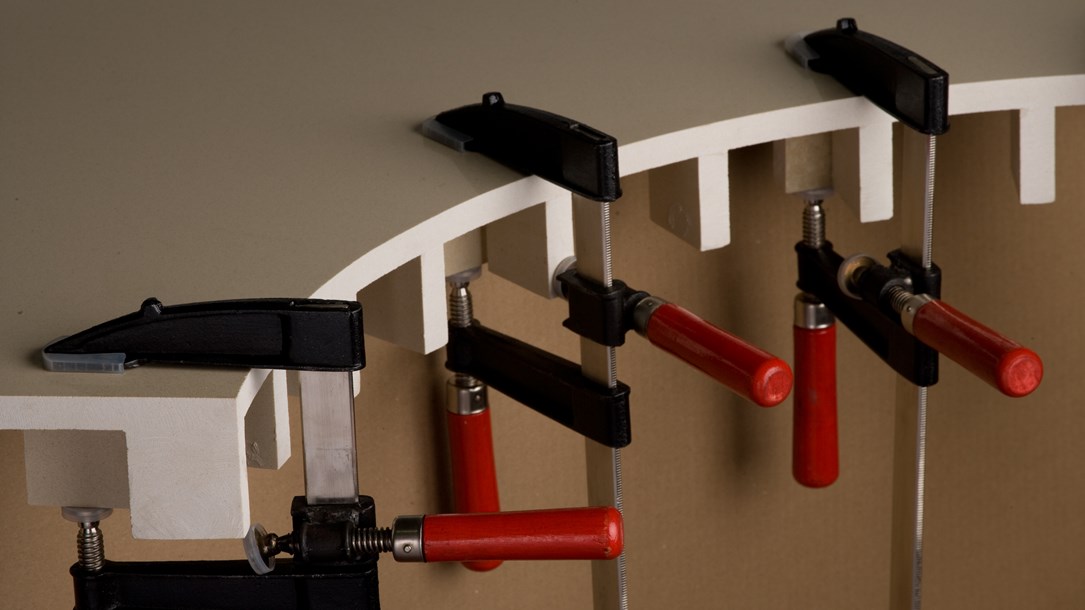
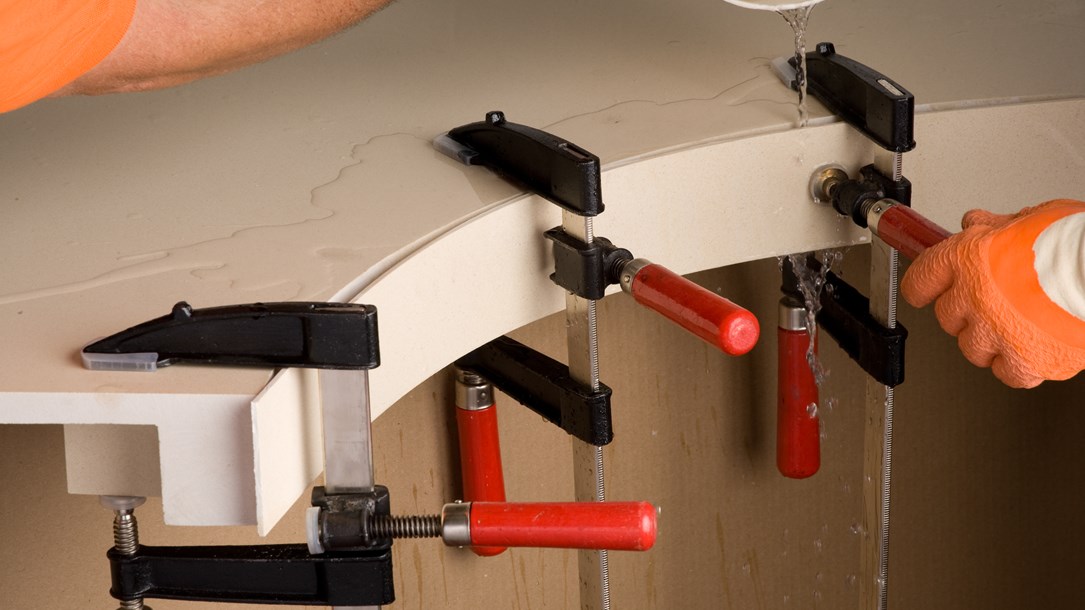
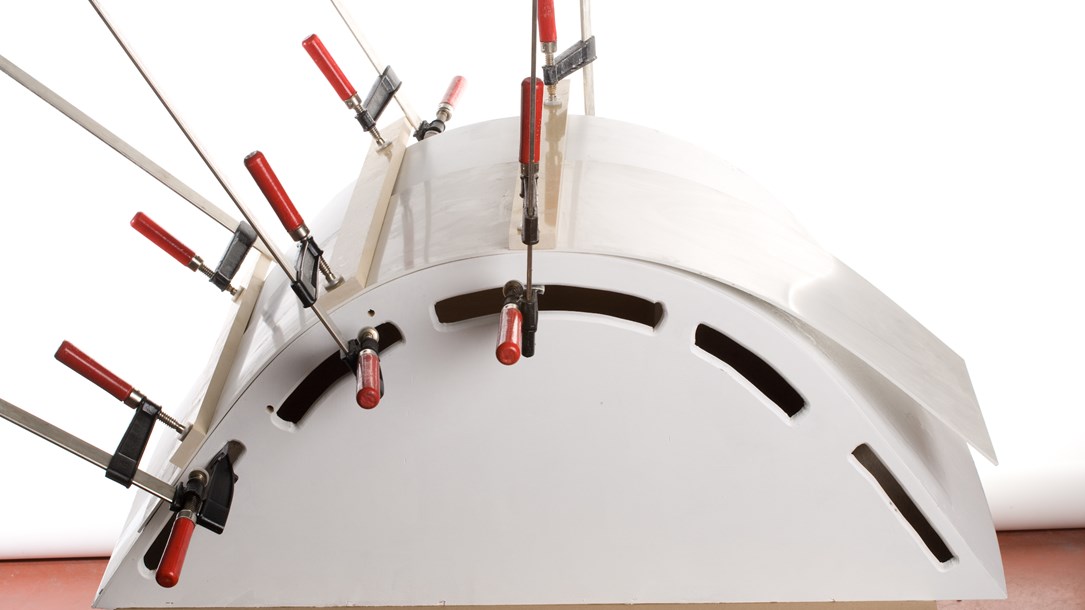
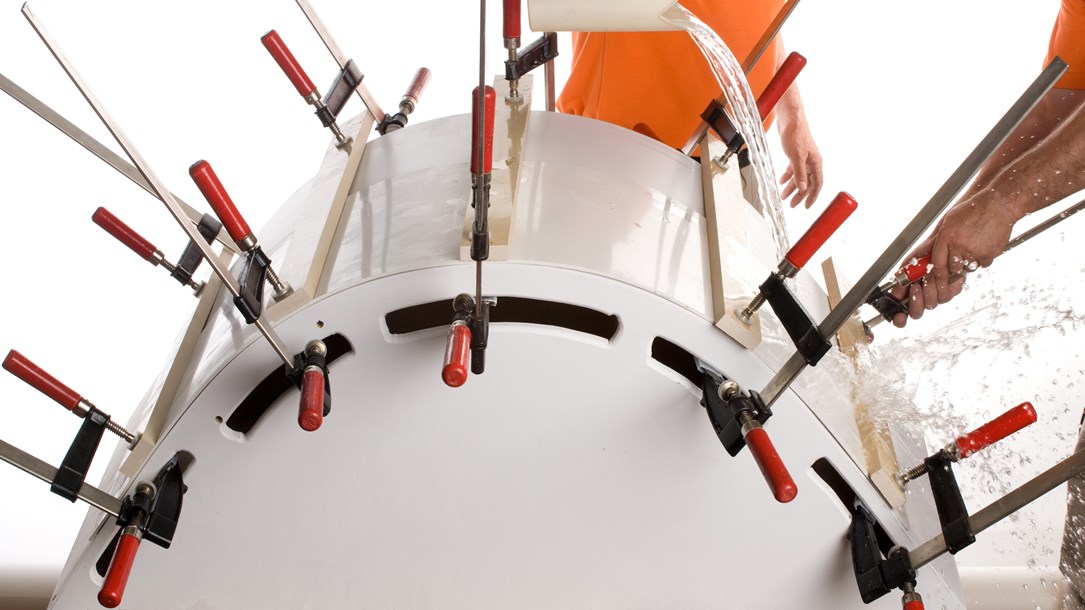
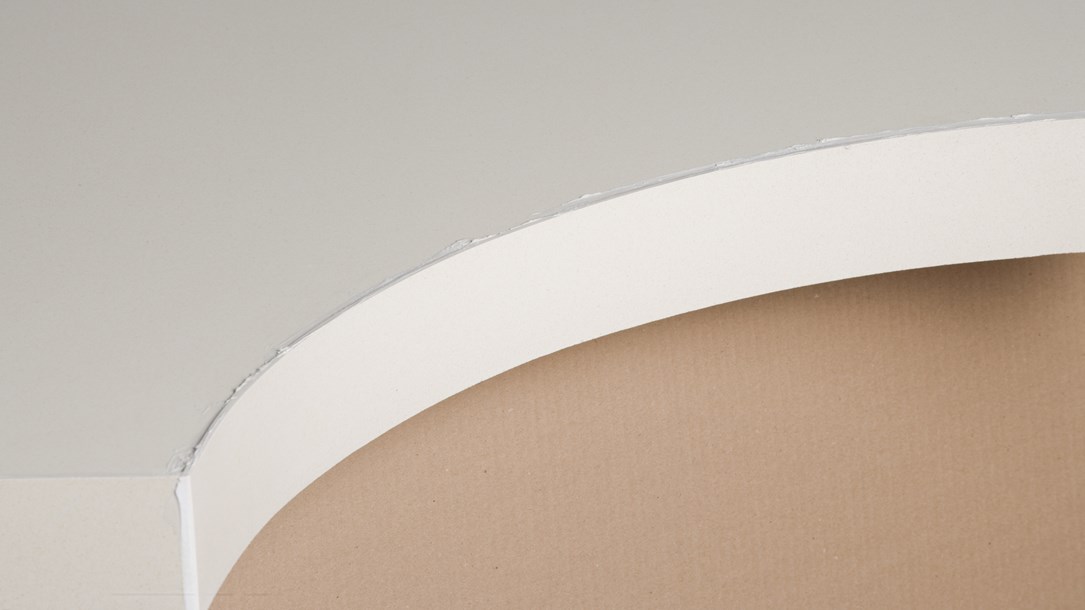
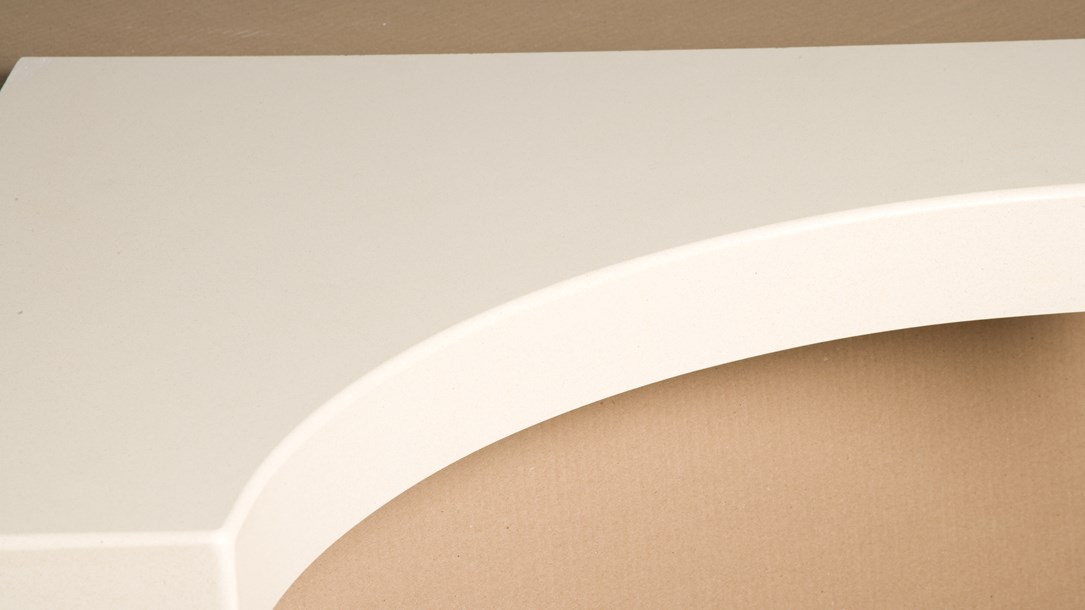
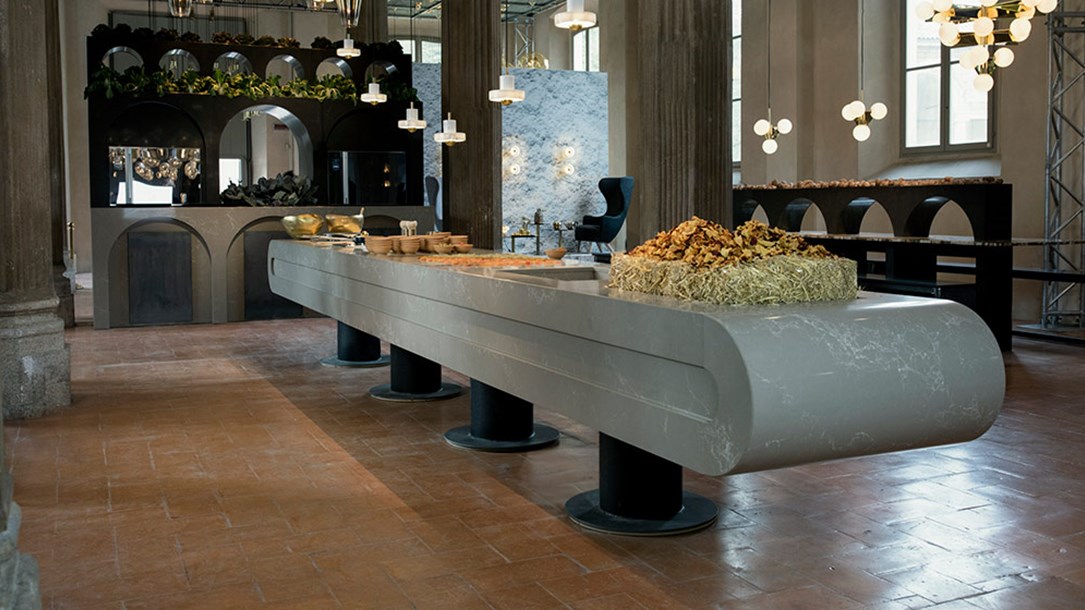
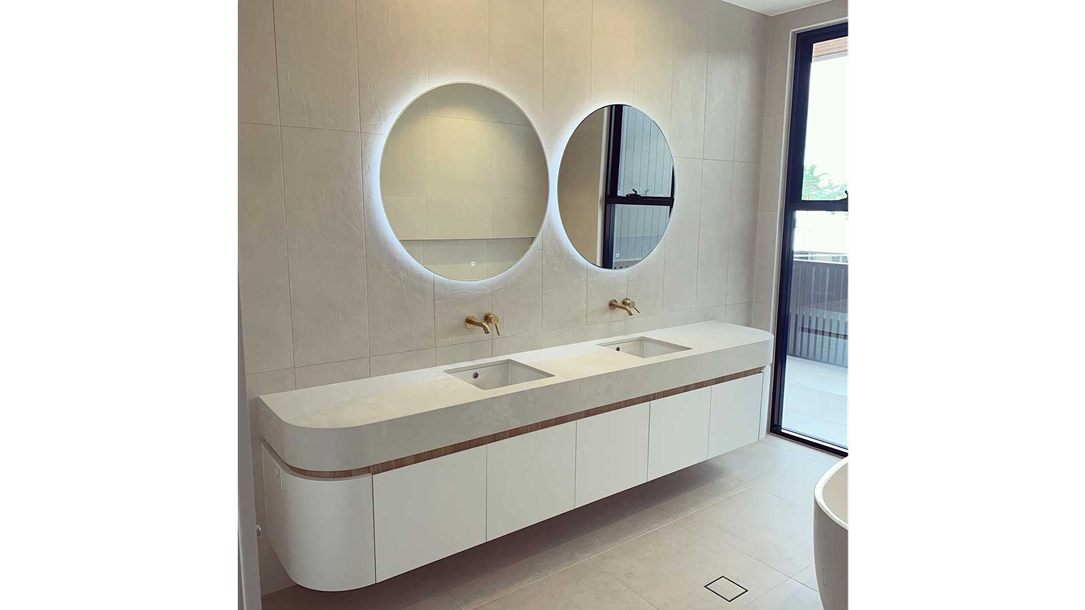
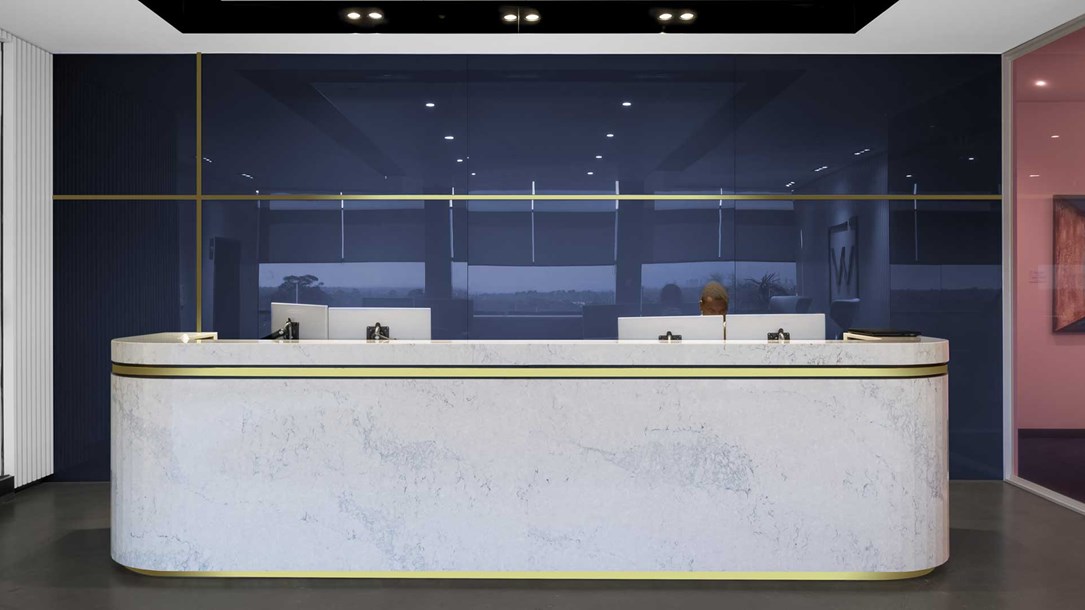
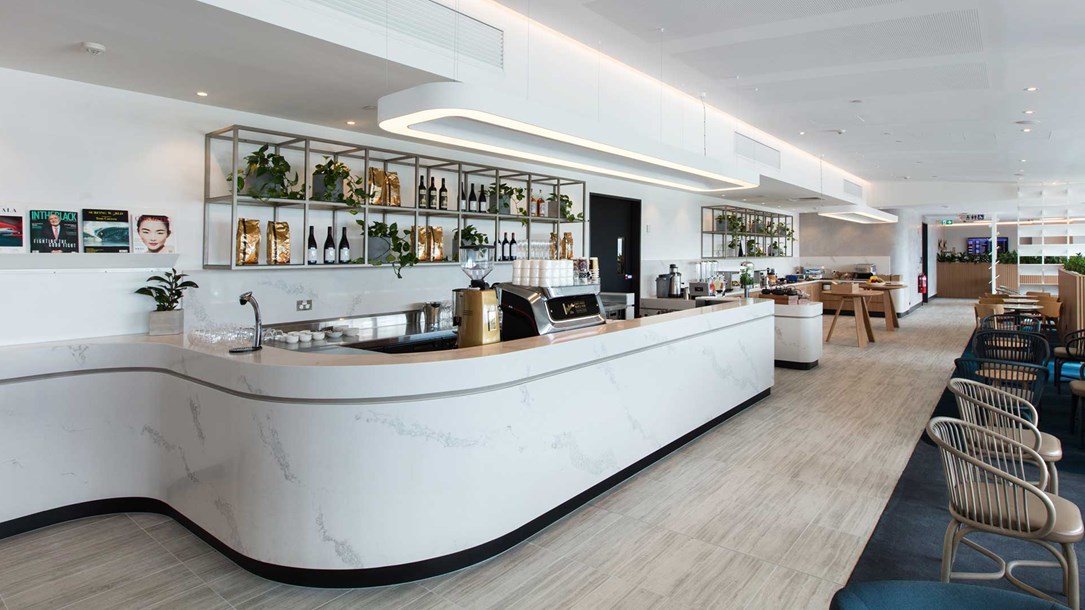
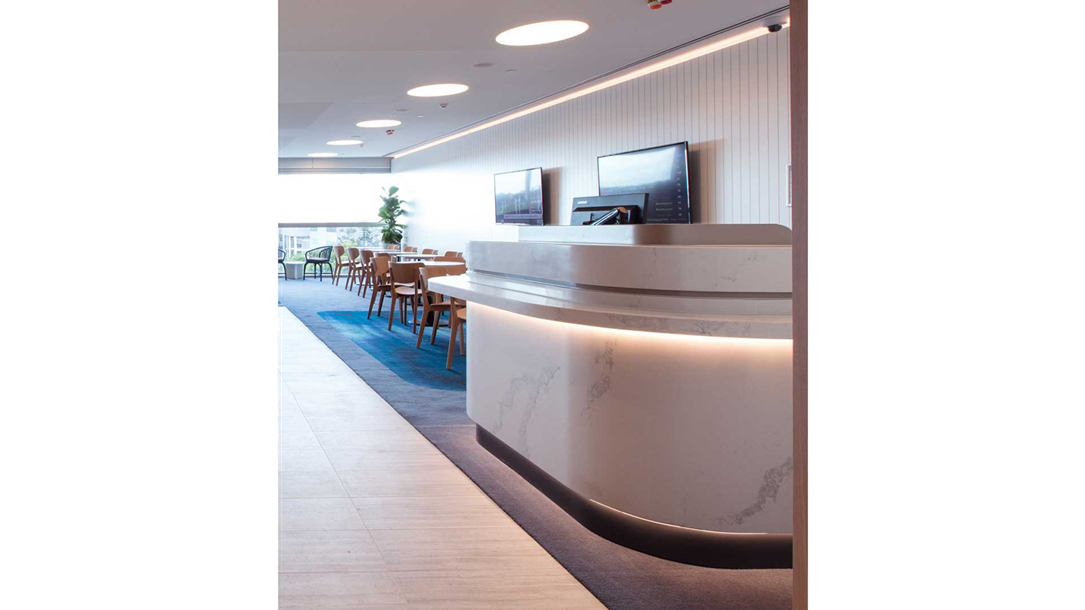
Thermoforming


Heating a straight surface and forming it into a curved surface

Introduction


Thermoforming Caesarstone quartz or Caesarstone MineralTM surfaces is the process of heating a straight surface and forming it into a curved surface. The material becomes flexible when the thickness is sufficiently reduced and it is heated to the right temperature. Caesarstone quartz and Caesarstone MineralTM surfaces can be formed to create almost any shape imaginable.

Getting Started


Before starting the process you must:

1. Plan the project carefully and prepare the shape if necessary.

2. Cut sufficient material to cover the required area.

3. Reduce the thickness and width according to the required radius.

4. Choose the method of forming the material
    (e.g., using hot water, steam, or hot air).

  • Proper planning is necessary. Certain shapes require a lot of planning, preparation, and trials in order to achieve successful results.
    Your plans may change based on your results.
    Patience is needed when designing your project and checking the feasibility of your method.
  • If at first you don’t succeed, try again with different widths and thicknesses until you figure out how to achieve your goal.

Preparing the Shape


Prepare the shape before starting to form the material. There are two methods of thermoforming:

Thermoforming around a Surface: In this method the surface serves as the template (e.g., applying an edge to a curved countertop). This is described in the Thermoforming around a Surface section.

Thermoforming around a Template: This method is described in the Thermoforming around a Template section.

Reducing the Slab Thickness


The degree to which Caesarstone quartz or Caesarstone MineralTM surfaces can be formed depends upon three factors:

1. Width

2. Thickness

3. Radius

  • The thinner the width and thickness, the smaller the radius can be.
  • Models from the 6000 and 9000 series are less suitable for thermoforming.

Reduce the thickness of Caesarstone using one of the following tools:

1. Diamond disk or diamond blade saw

2. CNC

3. Grinding wheel

  • The method used to reduce the thickness depends on the tools available and the width of the piece to be formed. It may be necessary to increase the diameter of the saw blade or use a combination of tools.
  • Before starting to form the material, make sure that you have cut sufficient material to cover the surface.

Using a diamond disk/diamond blade saw

1. Check that the slab is level.
2. Decide on the thickness for the piece to be cut and adjust the saw accordingly.

3. Cut the slab in stages. For each stage, lower the blade slightly and cut a bit more.

  • If the saw blade is not big enough to cut completely through the slab, cut half way through, turn the slab over, and continue cutting from the other side.

Using a CNC

A CNC (Computer Numerical Control) is useful for reducing the thickness of wider pieces.


Using a grinding wheel

The thickness of wider pieces can also be reduced using a grinding wheel mounted on any kind of slab fabricating machine.

Heating the Material


Thin pieces of Caesarstone quartz or Caesarstone MineralTM surfaces become flexible when heated. Methods include:

1. Submerging the material in hot water

2. Pouring hot water over the material

3. Using steam

4. Using blow heaters

  • Caesarstone recommends heating the material to 80-90ºC for forming.
  • Submerging the material requires a container large enough to contain the entire piece. If the piece cannot be submerged, water can be poured over the material.
  • Forming large areas requires a lot of water. Make sure that you have heated sufficient water before starting the process.
  • Wear suitable gloves when handling the heated material. When working with very hot water, make sure the gloves are both waterproof and heat-resistant.

Thermoforming around a Surface


This section describes how to form the edge around a curved countertop surface. The countertop serves as a guide for forming the shape.

  1. 1. Glue supports underneath the formed edge.
  • The number of supports required depends upon the width of the edge and the radius of the curve.

2. Before starting to form the edge make sure that you have sufficient clamps for the job.

3. Prepare to clamp the material to the surface by placing the clamps along the edge of the curve.


4. Place the heated, flexible material against the surface.

5. Adjust the clamps until the desired shape is achieved.

  • The material cools down quickly. Sometimes it is not possible to form and clamp the whole piece to the desired shape in one step. In this case, repeat the process of heating, forming and clamping until the desired shape is achieved.

Thermoforming around a Template


1. Form the material around the template

2. Clamp the material to the template until the desired shape has been achieved.

  • Sometimes it is not possible to clamp the material in the standard way. There are many alternatives, e.g., a combination of belts and clamps.

Cooling


  1. 1. Allow the material to cool down naturally with the clamps in place. This takes a few minutes.
  2. 2. Loosen the clamps and leave them in place.
  3. 3. Move the formed piece away from the surface.
  4. 4. Clean the surface with alcohol on a clean, white cloth.


Gluing


1. Using the correct shade of Tenax®, mix ten parts Tenax glue to one part hardner. Integra®, Impa®  and Akemi®  adhesives may also be used.

  1. 2. Glue the formed piece in place.

3. Clamp the formed piece to the surface and allow the glue to dry.

4. Fill the joints with glue and remove the excess glue from the surface.

Polishing


1. When the glue is dry, remove the clamps.


2. Shape and polish the edges with diamond hand polishing pads or with a diamond polishing machine.
3. Start with the coarsest polishing pad and switch to finer pads.

Table 1 lists the wet polishing pad colours and their equivalent grit sizes.

Table 1. Wet Polishing Pad Colours & Grit


Pad Colours Grit Size
Green 60
Black 80
Red 120
Yellow 400
White 500/1000
Blue 1500
Orange 3000

This picture shows the polished, formed edge.

  • Please note that creative applications including Thermoforming are not covered under warranty.

Examples


The following examples are included to provide inspiration:

Thermoforming restaurant installation by Caesarstone and Tom Dixon, Milan Design Week 2016. Photograph by Peer Lindgreen
Curved Bathroom Vanity, Caesarstone® Cloudburst Concrete™ 4011 Bathroom. Design by Hal Architects
Reception Desk at Waterman Business Centre, Caesarstone® Noble Grey™ 5211
Bar at Qantas International Business Lounge at Brisbane. Caesarstone® Statuario Maximus™ 5031. Architect: Architectus (Sydney). Stone Mason: Tuscany Stone Co. (QLD)
Curved Reception Desk at Qantas International Business Lounge at Brisbane, Caesarstone® Statuario Maximus™ 5031. Architect: Architectus (Sydney). Stone Mason: Tuscany Stone Co. (QLD)